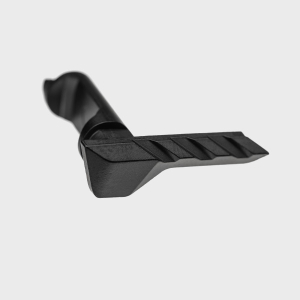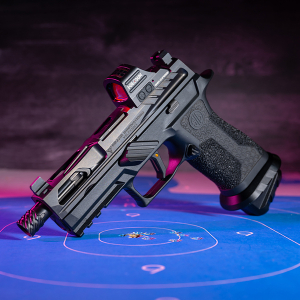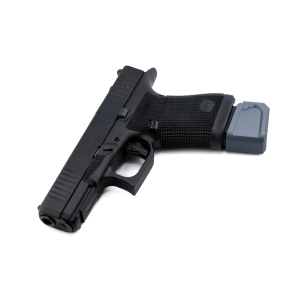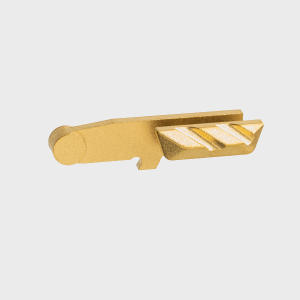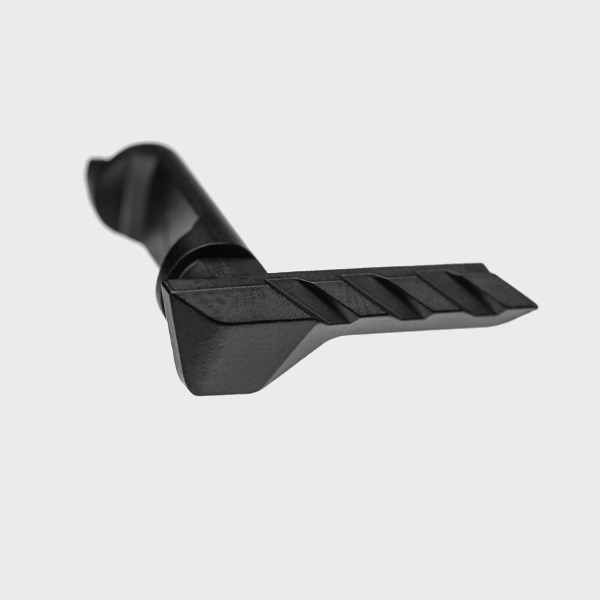
The takedown lever is one of the most frequently handled controls on the SIG P365, yet it often receives less attention than triggers, optics, or grip modules. Whether you're replacing a worn component, upgrading aesthetics, or improving ergonomics, a takedown lever swap requires more than simply installing the new part and calling it finished.
Proper fitment affects disassembly, frame alignment, FCU retention, and overall reliability. Taking a few minutes to verify fit checks and pin alignment can prevent frustrating issues later and ensure the pistol continues to function exactly as intended.
Why the Takedown Lever Matters
The P365 takedown lever plays a larger role than many shooters realize. Beyond allowing field stripping, it helps secure the fire control unit within the grip module and contributes to overall assembly stability.
Because it interacts directly with critical internal components, even minor fitment issues can affect operation.
FCU Retention
The lever helps hold the fire control unit securely within the grip module during normal operation.
Disassembly Function
Proper rotation and engagement are necessary for smooth field stripping and reassembly.
Component Alignment
The takedown assembly works alongside several internal components that depend on proper positioning.
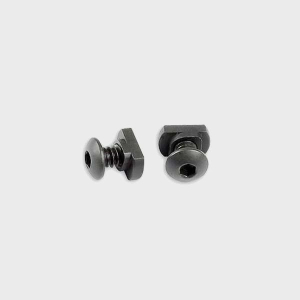
Before Starting the Swap
Preparation makes the installation process significantly easier.
Verify Compatibility
Confirm the replacement lever is designed specifically for your P365 configuration and grip module setup.
Inspect Existing Components
Before removing the factory lever, examine surrounding parts for unusual wear, debris, or damage.
Work in a Clean Area
Small components are easier to inspect and manage when working on a clean, organized surface.
Checking Pin Alignment During Installation
One of the most important steps is verifying that everything remains properly aligned during installation.
Observe FCU Position
The fire control unit should sit naturally within the grip module without excessive movement or binding.
Avoid Forced Installation
If significant resistance is encountered, stop and verify alignment rather than forcing the lever into place.
Confirm Full Engagement
The takedown lever should seat completely and rotate smoothly without unusual resistance.
Fit Checks After Installation
Once installed, several quick inspections can confirm proper fitment.
Rotation Check
The lever should rotate through its intended range of motion smoothly and consistently.
Flush Fitment
The lever should sit correctly against the frame without visible gaps or uneven positioning.
No Excessive Movement
A small amount of normal movement may exist, but the lever should not feel loose or unstable.
Testing Disassembly and Reassembly
A successful installation should make maintenance straightforward and repeatable.
Smooth Slide Removal
The slide should separate normally during field stripping without unusual resistance.
Consistent Reassembly
The pistol should return to battery normally after reassembly with no signs of interference.
Repeat the Process
Perform several disassembly and reassembly cycles to verify consistent operation.
Common Issues After a Lever Swap
Most installation problems are minor and easily corrected when identified early.
Stiff Rotation
Excessive resistance usually indicates alignment issues or improper seating.
Incomplete Seating
A lever that does not fully seat can affect both disassembly and component retention.
Interference During Reassembly
If the slide does not reinstall smoothly, verify that all components remain properly aligned.
Unexpected Wear Marks
Fresh wear patterns after installation can reveal unwanted contact points.
When an Upgrade Makes Sense
A takedown lever upgrade is often most beneficial when it improves ergonomics without introducing unnecessary complexity.
Improved Thumb Comfort
Some designs provide a more comfortable profile during extended shooting sessions.
Enhanced Appearance
OEM-plus styling can complement other controls while maintaining a clean factory-inspired look.
Better Manipulation
Subtle design improvements can make field stripping easier while preserving reliability.
Did You Know?
Many takedown lever installation problems are caused by slight alignment issues during assembly rather than defects in the replacement part itself.
Conclusion: Fitment First, Performance Second
A P365 takedown lever swap is a straightforward upgrade when approached carefully. Verifying pin alignment, confirming smooth rotation, and testing repeated disassembly cycles ensures the new component performs as intended. By focusing on proper fitment rather than rushing installation, shooters can improve ergonomics and maintain the reliability the P365 platform is known for. For precision-fit components designed around the P365 platform, explore SIG Sauer upgrade parts engineered for dependable performance and clean integration.
FAQs
Does a takedown lever affect reliability?
Indirectly, yes. Proper fitment helps maintain correct component alignment and smooth operation.
Should a new takedown lever rotate freely?
It should rotate smoothly with controlled resistance, not excessive stiffness or looseness.
Why won't my takedown lever fully seat?
Alignment issues within the fire control unit or grip module are common causes.
How do I verify proper installation?
Perform fit checks, test rotation, and complete multiple disassembly and reassembly cycles.
Can an upgraded takedown lever improve handling?
Some designs improve thumb comfort and ergonomics while maintaining normal function.